S.01
Vehicle identification
Make, model, model year and variant — and the VIN if you can read it. This alone resolves a large share of specification ambiguity.
Ten steps for evaluating a seat belt requirement, a checklist of questions to ask before buying, and a decision pathway that narrows the field to one answer.
Before you start
The failures that cost the most time are almost never manufacturing failures. They are specification failures: the wrong hand, the wrong generation, a retractor that will not fit the cavity, a buckle and latch plate that were never designed to work together, or a retrofit position where no compliant anchorage exists.
Every one of those is avoidable with information that is available before the order goes in. This guide sets out how to gather it. It is written to be worked through in sequence, because each step narrows what the next step has to consider.
If you are not yet sure which product category applies, start with Seat Belt Solutions. If you are not sure which rules apply to your vehicle class, start with Applications.

Fig. 01 — Fit and reach are part of the specificationRef / BG-01
Evaluation process
Ten steps, in order. Answer each one before moving on — a gap here becomes a guess later.
State what the vehicle is and what it does. A private car, a school bus, a suspended-seat tractor unit and a converted welfare unit are four different problems even when the belt configuration sounds identical. The application sets which of the following steps carry the most weight.
Pin the vehicle down precisely. Make, model, generation, facelift, body style, model year, market and, where available, the vehicle identification number. Belt hardware frequently changes mid-generation and between regional variants of the same nameplate, so a model name alone will not resolve a specification.
Which row, which side, and how many positions in that row. State the drive-hand of the vehicle explicitly, because handing is not cosmetic: stalk length, webbing exit angle and retractor orientation all differ between a left and a right assembly.
Two-point or three-point. If three-point, confirm where the upper anchorage is and whether a height adjuster is fitted. Also note the latch plate type — free-sliding or fixed — and the buckle stalk style, whether rigid, cable or webbing.
Establish whether a retractor is fitted at all, and if so whether it is emergency-locking, automatic-locking or switchable between the two. If a child restraint will ever be installed at this position, this step is not optional — many child restraints rely on an automatic-locking mode to hold the belt at a fixed length.
Identify every anchorage and what it attaches to: the body shell, the seat frame, a crossmember or a converter-supplied bracket. Record bolt diameter and thread form at each point, the angle the belt leaves at, and the condition of the surrounding metal. This is the step that most often changes the answer.
Decide whether you are restoring the original specification or creating a new one. A like-for-like replacement is straightforward. A retrofit or an upgrade from two-point to three-point is a different exercise entirely, and it depends on whether compliant anchorage points exist or can be properly engineered into the structure.
Check what the vehicle manufacturer specifies for that position, and what statutory or operator requirements apply to the vehicle in its current use. Where a vehicle has been converted, the conversion documentation may impose requirements the base vehicle documentation does not.
Before committing, confirm what is actually being supplied: configuration, working length, retractor behaviour, buckle and latch plate pairing, connector type, anchor plate geometry and finish. Confirm that the buckle and tongue come from the same family, and that any markings or labels on the assembly match what was described.
Anchorage assessment, structural modification, pretensioner handling and any work on a converted vehicle should involve someone competent to sign it off. Plan this before ordering, not after delivery — the assessment can change what should be bought.
Pre-purchase checklist
If you can answer all eighteen, your enquiry can be quoted accurately the first time. If you cannot answer several, that is useful information too — it tells you where to look.
Make, model, generation, facelift, body style, model year and market — plus the VIN if it can be read.
Row, side and the drive-hand of the vehicle. Left and right assemblies are not mirrored parts.
And if three-point, where does the upper anchorage sit — pillar, roof rail or seat frame?
And is it emergency-locking, automatic-locking, or switchable between the two modes?
If yes, the retractor’s locking behaviour becomes a hard requirement rather than a preference.
Body shell, seat frame, crossmember or converter bracket. This changes which assemblies are usable at all.
At every anchorage point, including any that are currently hidden behind trim.
Measured, not estimated — and checked against the largest expected occupant and winter clothing.
And does it need to be, given the range of occupants who will use this position?
They must be a designed pair. A tongue that enters a buckle is not evidence that they belong together.
Buckle-status switches and pretensioners need a matching connector and pin arrangement.
Check the actual cavity behind the trim, including clearance for the webbing exit angle.
If so, it should be treated as no longer serviceable regardless of how it looks.
Restoring an existing specification and creating a new one are different jobs with different risks.
Dust, moisture, chemicals, heat and sunlight all change how quickly an assembly degrades.
A shared commercial vehicle can cycle a belt more in a month than a private car does in a year.
Volume changes the conversation from a part to a programme, with consistency and cadence to plan.
Agree this before ordering. The assessment can change what should be bought.
Decision pathway
Work down the pathway. At each node, the branch you take determines what the next question is actually asking.
Match the existing specification. Continue to Q2.
Stop. Resolve the anchorage question first with a competent assessment, then rejoin at Q3.
Treat the assembly as no longer serviceable. Replace rather than inspect and return to service.
Assess condition against the wear indicators in Quality & Safety, then continue.
Specify against the seat make and model. A body-mounted assembly is not a substitute.
Specify against the vehicle variant and the exact position.
A three-point configuration is available. Confirm height adjuster provision.
A two-point lap belt is the configuration. Do not create an upper anchorage without competent structural assessment.
Retractor locking behaviour becomes a hard requirement. Confirm switchable or automatic-locking capability.
An emergency-locking retractor is normally sufficient for the position.
Favour simple, inspectable mechanisms. A static belt with a heavy-duty adjuster is often the better choice.
A retractor-fed assembly matched to the vehicle is appropriate.
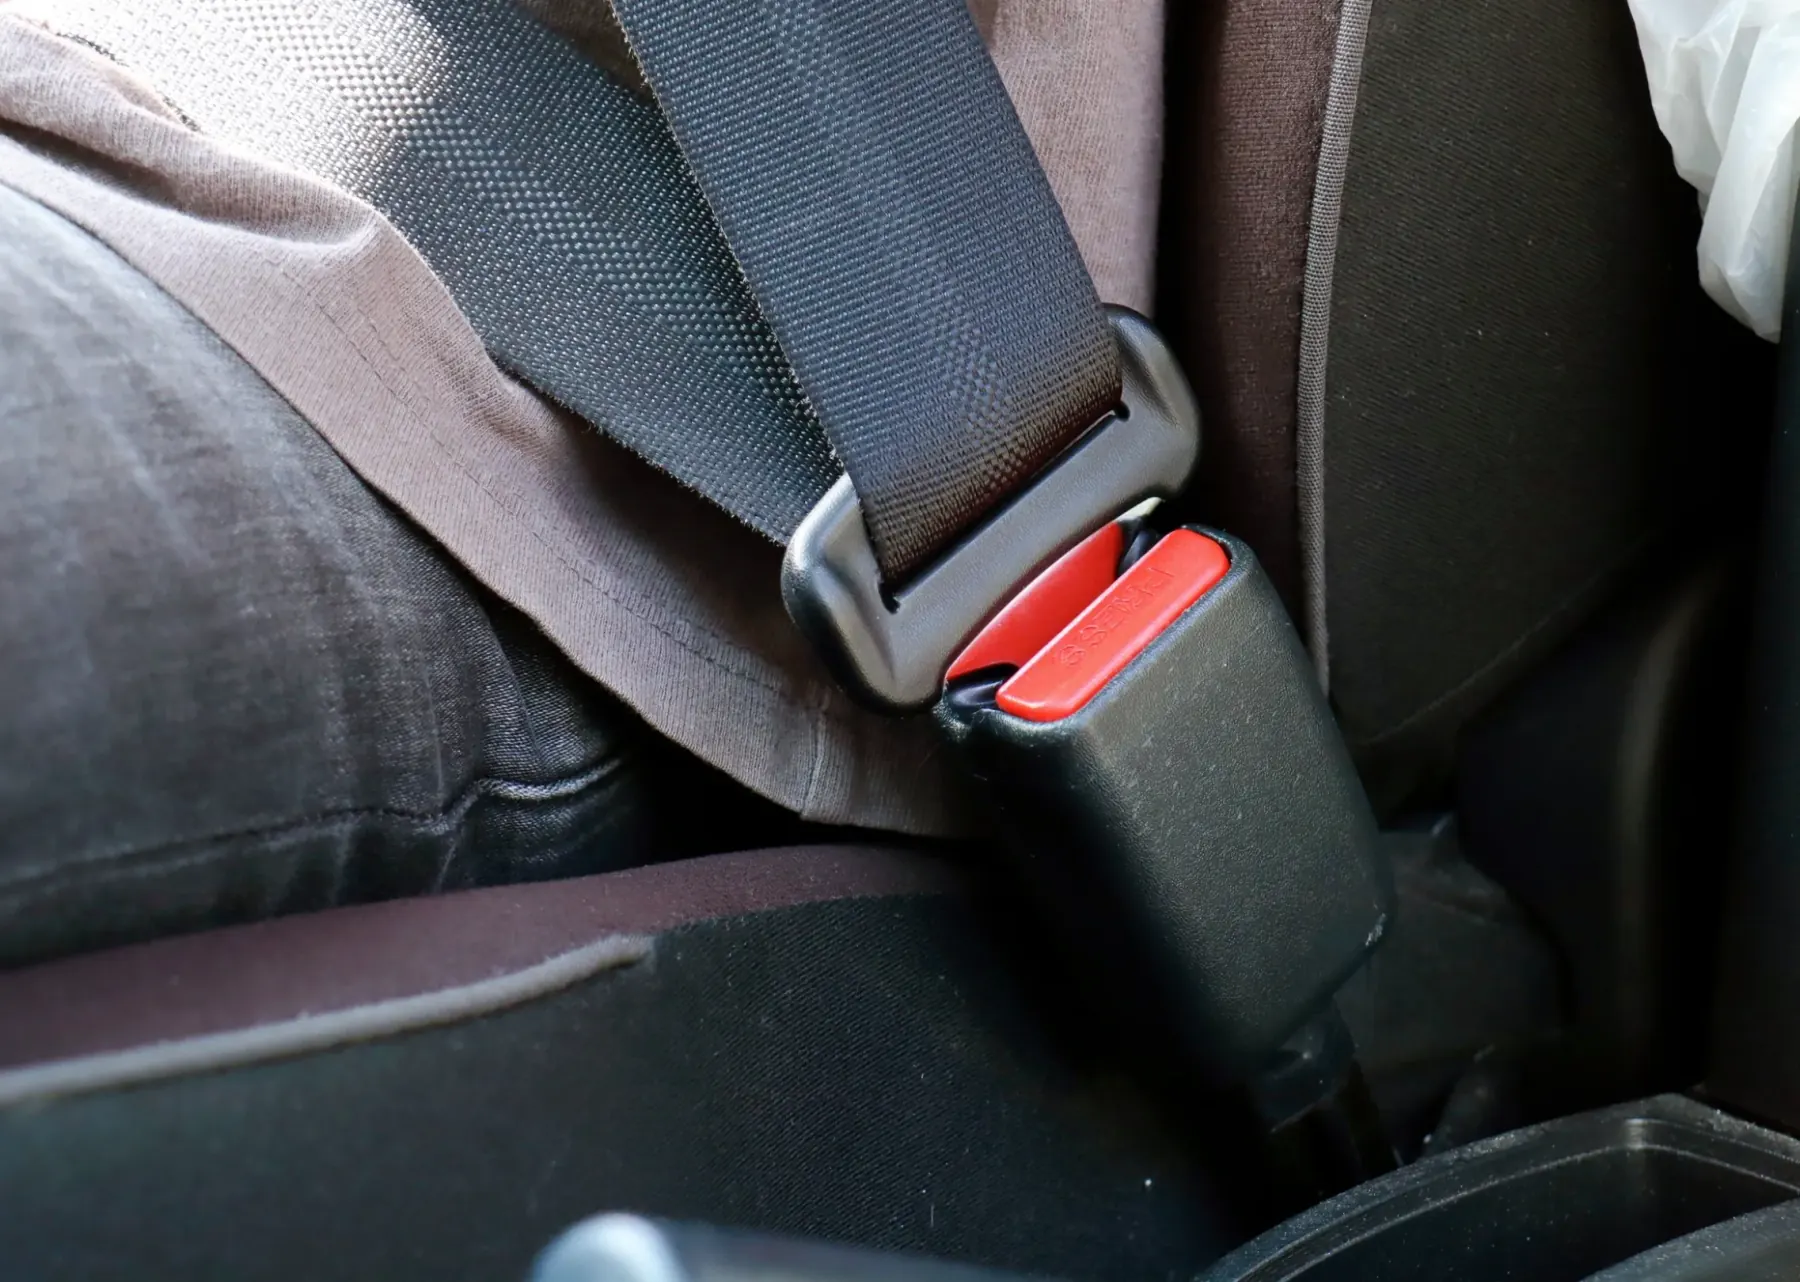
Fig. 02 — Verify engagement and routing on the fitted assemblyRef / BG-02
A note on this pathway
The pathway is a structured way to reach a well-formed question. It is not a substitute for the vehicle manufacturer’s specification, applicable statutory requirements, or assessment by a qualified professional — all of which take precedence where they differ from general guidance.
Making the enquiry
Send these five things and most enquiries can be answered in one reply rather than four.
S.01
Make, model, model year and variant — and the VIN if you can read it. This alone resolves a large share of specification ambiguity.
S.02
“Second row, kerb side, right-hand-drive vehicle” is unambiguous. “Rear belt” is not.
S.03
Both anchorage points, the buckle stalk, the latch plate profile, and the retractor if it is visible. Take them before anything is removed.
S.04
Labels sewn into the webbing, moulded marks on the retractor housing, and part numbers stamped into anchor plates.
S.05
One position or a fleet programme, and when it is needed. Volume requirements are planned differently from single replacements.
S.06
Conversions, rebodies, aftermarket seating, previous repairs or anything that does not look like it left the factory that way.
Ready when you are
Product requirement, application question, bulk enquiry or a single-position sanity check — all are handled the same way: carefully, and with the reasoning shown.