Frequently
asked questions
Eighteen questions that come up repeatedly, answered properly rather than in a sentence. Grouped by what you are actually trying to work out.
Types & configuration
The suitable type is determined by the vehicle rather than chosen from preference. Three things settle it: what the structure can support, which seating position is involved, and how the position is used.
- If a compliant upper anchorage exists, a three-point belt is normally correct.
- If no upper anchorage exists and one cannot be properly engineered, a two-point lap belt is the configuration.
- If the seat is suspended or the belt is seat-integrated, the belt is specified against the seat rather than the vehicle body.
- If the environment is harsh or heavily contaminated, a static belt with a heavy-duty adjuster is often the better engineering choice than a retractor.
The Buyer’s Guide works through this as a six-node decision pathway.
A two-point belt has two anchorages and restrains the pelvis only — it is a lap belt. A three-point belt adds a third anchorage above and behind the shoulder, so one continuous length of webbing forms both a lap section across the pelvis and a diagonal section across the chest.
The practical difference is what happens to the upper body. A lap belt holds the pelvis but allows the torso to rotate forward. The diagonal section of a three-point belt controls that rotation, which is why three-point belts are standard wherever the structure supports the third anchorage. A two-point belt is specified because the geometry is unavailable, not because it is equivalent.
A belt whose surplus webbing is stored on a spring-loaded spool called a retractor. The spring keeps the belt in light contact with the occupant and stows the webbing automatically when the belt is released, which is a large part of why belts are worn as consistently as they are.
The retractor also carries the locking mechanism. Under normal movement it pays webbing out freely; under sharp vehicle deceleration or a fast pull on the webbing it locks the spool so no further webbing is released. Many retractors additionally house a pretensioner, which removes slack at the start of an impact event, and a load limiter, which allows controlled payout above a threshold force.
An emergency-locking retractor (ELR) allows the occupant to move normally and locks only when triggered — either by vehicle deceleration, by rapid webbing payout, or both. This is the behaviour at almost all everyday seating positions.
An automatic-locking retractor (ALR) locks to a fixed length once the webbing has been pulled out, and does not extend again until it has been allowed to rewind fully. This matters because many child restraints are installed using the vehicle belt and rely on an ALR mode to hold the belt tight at a set length.
Many modern retractors are switchable: they behave as an ELR in normal use and enter ALR mode when the webbing is pulled all the way out. If a position will ever carry a child restraint, confirm this behaviour before purchase.
Work through five observations at the position in question:
- Count the anchorage points — two or three.
- Establish what each anchorage attaches to: body shell, seat frame, crossmember or a converter-supplied bracket.
- Check whether a retractor is present and where it sits.
- Test the retractor: does it lock when pulled sharply, and does it enter a locked mode when pulled fully out?
- Photograph the latch plate profile and the buckle, which identifies the family they belong to.
Those five observations, plus the vehicle identification number and an unambiguous statement of the position, are usually enough to resolve a specification.
Fitment & compatibility
No. Seat belt assemblies are packaged around specific vehicles and specific positions. Anchorage positions and thread forms, webbing working length, buckle stalk length, retractor body dimensions, webbing exit angle, connector type and buckle-to-latch-plate matching are all vehicle-specific to some degree.
The important point is that a belt can bolt up perfectly and still be wrong. If the webbing is too long, the retractor may never fully stow it. If the stalk is the wrong length, the buckle sits in the wrong place relative to the seat. If the handing is reversed, the diagonal leaves the upper guide at the wrong angle. None of these prevent installation; all of them affect how the belt performs.
Because they are the route by which occupant load reaches the vehicle structure. The belt does not absorb the load; it transfers it. Everything the assembly does ends up in the metal around the anchorages.
That makes several things part of the safety system rather than fitting details: the condition and thickness of the surrounding metal, the grade and torque of the fastener, the washer and spacer arrangement that lets an anchor plate pivot as designed, and the angle at which the belt leaves each point. It also means anchorage positions determine belt geometry — where the lap section sits on the pelvis and where the diagonal crosses the shoulder.
This is covered in more detail on the Quality & Safety page.
Yes. Handing is not cosmetic. Left and right assemblies typically differ in buckle stalk length, in the angle at which webbing exits the retractor, in the shape of moulded guides, and sometimes in retractor mounting orientation. They are not mirror images of one another.
When describing a position, state the row, the side, and the drive-hand of the vehicle. “Second row, driver side, right-hand drive” leaves nothing to interpretation. “Rear left” on its own does not.
Sometimes — but it is a structural question before it is a parts question. A three-point belt needs a compliant upper anchorage capable of carrying restraint loads. If the vehicle does not have one at that position, one has to be properly engineered into the structure, and that is competent-professional work.
Drilling a hole and fitting a bolt produces something that looks like an anchorage but has not been shown to carry the load. Before any component is selected, the structure at the intended anchorage should be assessed by someone qualified to assess it, and the work should follow the applicable vehicle and conversion requirements.
Yes, and this is one of the most commonly overlooked points. Latch plate profiles and buckle retention geometry vary between manufacturers and between platforms. They are designed as a matched pair.
A tongue from one family may physically enter a buckle from another and even click. That is not evidence the pair will retain each other as designed. Always specify buckle and latch plate together, and if you are replacing only one half of a pair, confirm the other half belongs to the same family first.
Condition & replacement
Establish four things before ordering anything:
- Why it is being replaced. Wear, damage, contamination or an impact event — each leads somewhere different.
- Whether the anchorages are sound. Check the metal, the threads and the anchor fittings before deciding what to fit.
- What the original specification was. Configuration, retractor behaviour, working length, connector type and buckle family.
- Whether related components also need attention. A worn buckle beside a new belt, or a damaged guide, will undo the benefit of the replacement.
Photograph everything before removing it. It is far easier to answer a specification question from photographs taken beforehand than from memory afterwards.
Follow the vehicle manufacturer’s service schedule and any operator or statutory requirement that applies to the vehicle in its current use. Beyond that, a visual and functional check is sensible at routine servicing, and before a vehicle enters or returns to service after standing.
Additionally, inspect whenever:
- The belt is slow to retract, does not fully stow, or locks inconsistently.
- The buckle hesitates to latch or does not release cleanly.
- Anything has been spilled on the webbing.
- The vehicle has been involved in any impact, however minor it appeared.
- Trim, seats or interior components have been removed and refitted.
The eight-point check on the Quality & Safety page sets out what to look for at each inspection.
No. Webbing carries the entire restraint load, and damage reduces what it can carry in ways that are not proportional to how the damage looks. A short cut across the fibres can matter far more than a large but superficial scuff.
Treat all of the following as reasons to take the assembly out of service and have it assessed:
- Cuts, nicks, tears or frayed edges anywhere along the webbing.
- Chemical staining or unexplained bleaching.
- Glazed, stiffened or hardened areas indicating heat or friction damage.
- Chalky, powdery or heavily faded surface from prolonged sunlight exposure.
- Loose, broken or pulled stitching at any sewn termination.
There is no field repair for damaged webbing. Damaged webbing is a replacement item.
A belt that restrained an occupant during an impact should be treated as no longer serviceable, and the position should be assessed rather than simply refitted.
Webbing is designed to elongate in a controlled way under load, and that elongation can occur without any visible change. Pretensioners are single-use devices. Retractor internals may have been loaded beyond their intended range. And the anchorages themselves will have taken the load, so they should be inspected too.
Follow the vehicle manufacturer’s guidance for the specific vehicle, and have the assessment carried out by a qualified professional.
Light surface cleaning is generally acceptable, but the choice of method matters more than the result. Solvents, bleaches, strong detergents and aggressive cleaning chemicals can attack synthetic fibres, and damage at fibre level is not visible and not reversible.
Follow the vehicle manufacturer’s guidance for the specific belt. Do not dye, paint or coat webbing — coatings change fibre behaviour and can conceal damage underneath. Allow webbing to dry fully before it is retracted, and never apply heat to speed drying. Where contamination is significant, replacement is the safer course than cleaning.
Buying & ordering
Six things cover almost every enquiry:
- Vehicle make, model, model year, variant and the VIN where it can be read.
- The seating position stated unambiguously — row, side and drive-hand.
- Photographs of both anchorages, the buckle stalk and the latch plate profile.
- Whether a retractor is fitted and how it behaves when tested.
- Quantity — a single position or a fleet programme — and when it is needed.
- Anything unusual: conversions, rebodies, aftermarket seating or previous repairs.
The Buyer’s Guide sets this out in full, and the enquiry form is structured around it.
Yes. Bulk and fleet requirements are welcome and are handled as a programme rather than as a large single order. That means working through which positions across which vehicles, what replacement cadence the operator works to, and how specification stays consistent as the fleet changes over time.
For a fleet enquiry it helps to send the vehicle list with variants, the number of positions per vehicle, the seat make and model where belts are seat-integrated, and the intended timeline. Select “Bulk or fleet requirement” on the contact form and include as much of that as you have.
Yes. Seat belts are safety-critical restraint components, and several of the things that determine whether an installation performs correctly cannot be verified by eye once the work is finished — fastener grade, torque, spacer arrangement, the condition of metal behind a trim panel, and whether webbing is routed without twist through every guide.
Professional involvement is essential where anchorage integrity or vehicle structure is in question, where a new seating position or anchorage is being created, where pyrotechnic pretensioners are present, after any impact, and on converted or rebodied vehicles. Installation and any safety-critical modification should be carried out in accordance with the applicable vehicle requirements.
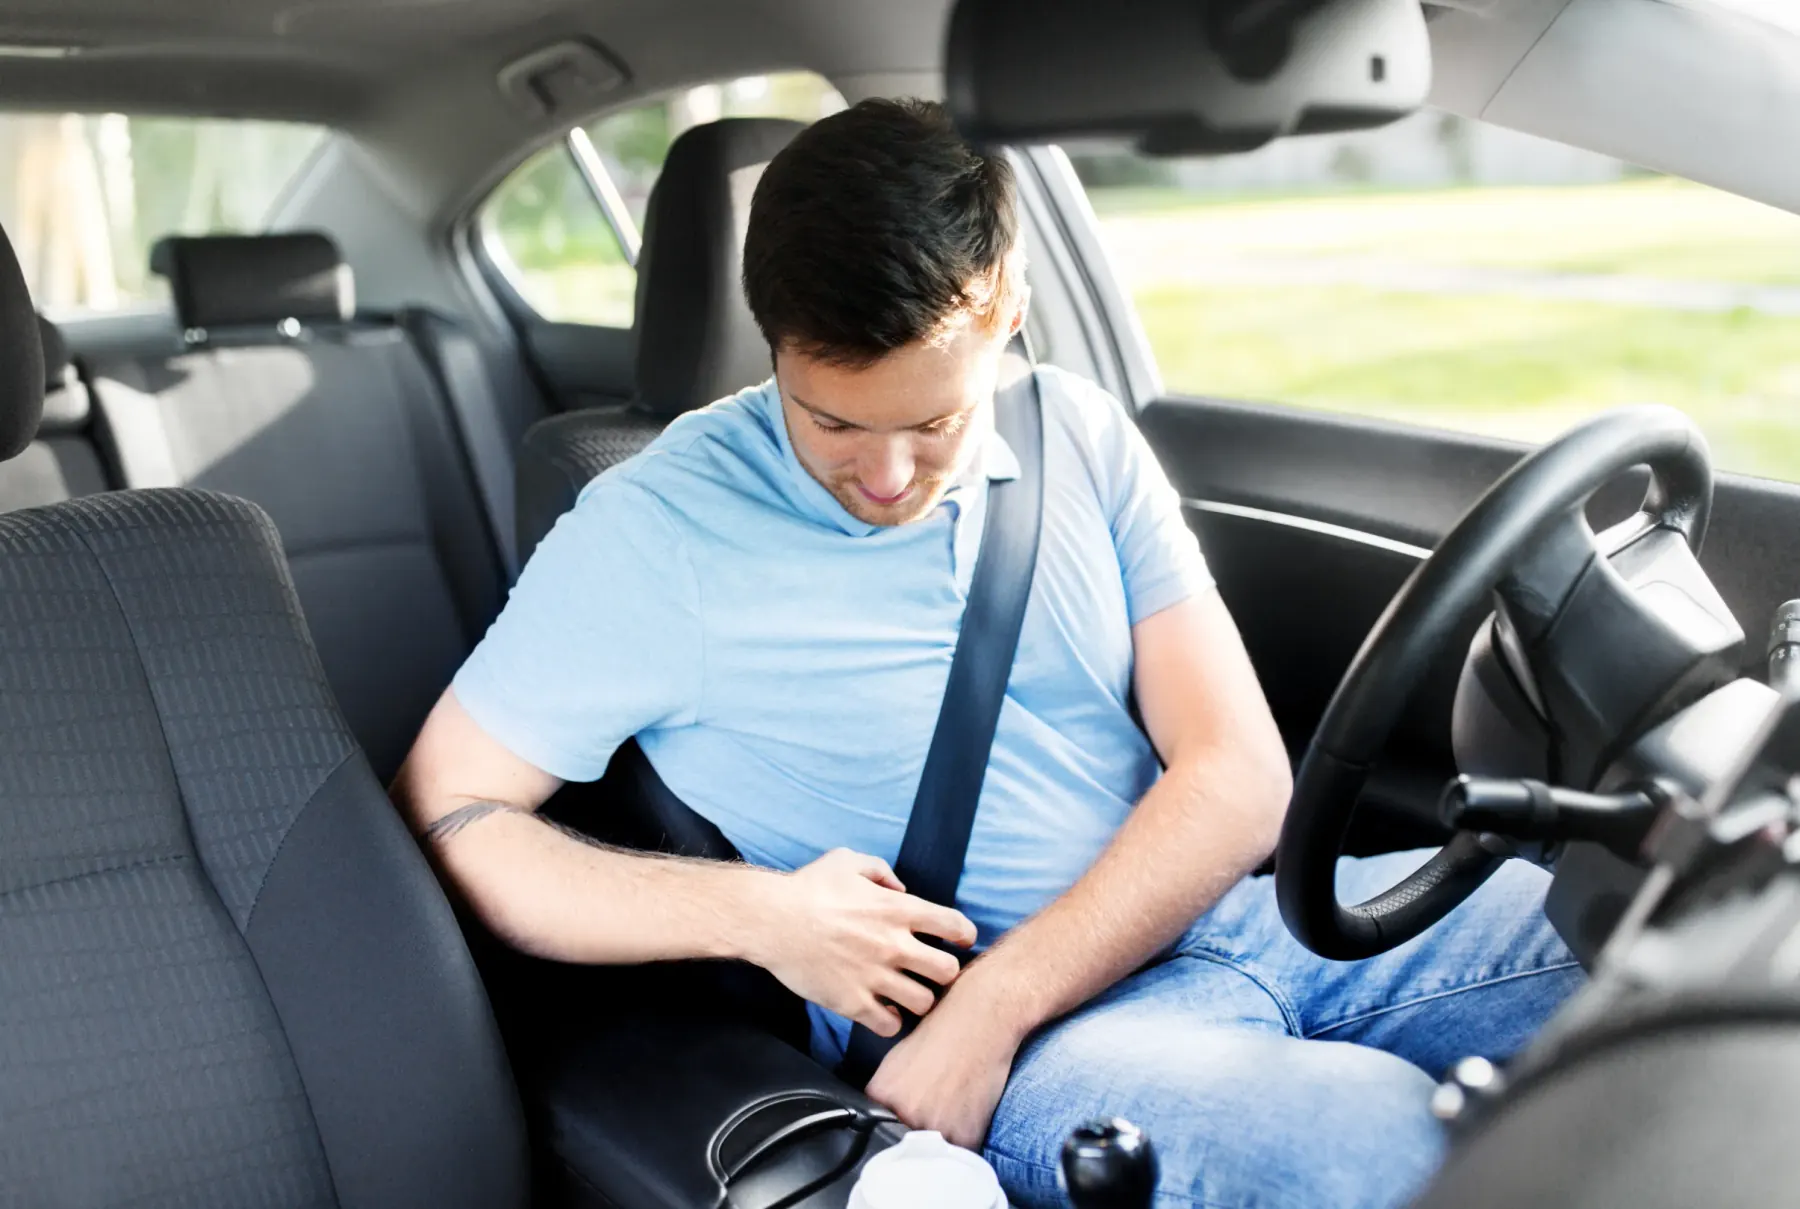
Fig. 01 — Belt fit is the practical test of a specificationRef / FAQ
Question not answered here?
These answers are general guidance. If your situation involves a converted vehicle, an unusual seating layout or an ambiguous inspection finding, send us the details and we will answer it directly rather than generically.
Scope of these answers
The answers on this page are general informational guidance. They do not replace applicable vehicle specifications, manufacturer instructions, statutory requirements or assessment by a suitably qualified professional.
Related reading
The eight-point inspection guide, the anchorage load path, and why belts should not be modified casually.
Still unresolved Contact UsSend the vehicle details, the seating position and photographs. Product, application, bulk and general enquiries are all welcome.