What makes a seat belt a safety-critical component, how to read its condition, what
should never be modified casually, and when the right answer is to stop and involve a
qualified professional.
Inspection points — 08Nature — General guidance
01
The classification
Why seat belts are safety-critical
A component is safety-critical when its failure directly removes protection from a person,
and when that failure may only become apparent at the moment protection is needed.
A seat belt meets both conditions. It sits unused for almost all of its service life, and
the one event it exists for is the event in which there is no opportunity to discover a
problem. A worn retractor still feels normal. Degraded webbing still looks like webbing. A
mismatched buckle and tongue still click. None of these give a warning during ordinary use.
There is a second reason. Unlike most components, a belt’s performance is not
contained within the part itself. It depends on the anchorages it is bolted to, the angles
it works at, the length it is set to, and the geometry it holds against the occupant.
A perfectly good belt in the wrong geometry is not a good belt. This is why selection,
mounting and condition are treated together on this page rather than as separate topics.
Nothing about a mis-specified belt announces itself until the moment it matters.
A belt can be the wrong belt, or it can be a degraded belt. They arise differently, they
are found differently, and both end in reduced protection.
F.01
Compatibility failure
The assembly is sound but wrong for the position. Handing reversed, webbing too long or too
short, a retractor packaged for a different cavity, a buckle and latch plate from unrelated
families, or an assembly designed for a body-mounted anchorage fitted to a suspended seat.
Introduced at selection, before anything is fitted
Rarely obvious once installed — everything looks normal
Prevented by specifying from the vehicle, position and mounting arrangement
F.02
Condition failure
The assembly is correct but degraded. Cut, frayed, chemically attacked, heat-glazed or
UV-chalked webbing; a retractor that hesitates or refuses to lock; a buckle that does not
release cleanly or does not latch positively; corroded or damaged anchor fittings.
Accumulates in service and is found by inspection
Rate depends on environment and cycle count, not calendar age alone
Prevented by a routine inspection regime and honest assessment
03
Mounting
The load path is the whole point
Everything a seat belt does ends up in the vehicle structure. The anchorages are not
fixings that hold a part in place — they are the route by which occupant load
reaches the vehicle.
Sound structure
The metal around an anchorage carries the load, not just the bolt. Corrosion, previous
repair, thin or perforated panel, or a bracket that was added without assessment all
compromise the anchorage regardless of how tight the bolt is. This is why anchorage
condition is inspected, not assumed.
Correct fasteners
Bolt grade, diameter, thread form and length are specification. A fastener of the wrong
grade may pass every visual check and still be the weakest element in the load path.
Substituting what is to hand is not an acceptable practice on a restraint anchorage.
Correct torque
Under-torque allows movement and progressive loosening. Over-torque can damage threads or
yield the fastener. Torque figures come from the vehicle documentation, and they are one of
the details that cannot be verified by eye once the trim is back on.
Correct spacers and orientation
Anchor plates are frequently designed to pivot, and the washer and spacer arrangement is
what allows them to. Clamping an anchor plate solid, or fitting it at the wrong angle,
changes how the belt loads and how it sits against the occupant.
Clean routing
Webbing must run without twist through every guide, must not chafe against a trim edge or
a bracket, and must not be trapped by a seat mechanism. A twist concentrates load into a
narrow band of the webbing; chafing removes material a little at a time.
04
Wear and inspection awareness
What to look for, and what it means
A visual and functional check takes under a minute per position. These are the eight
things worth checking, and what each one is telling you.
Check 01 — Webbing surface
Cuts, nicks and fraying
Run the full length of the webbing through your hands, including the section normally
stored inside the retractor. Cut or frayed fibres reduce the load the webbing can carry,
and the reduction is not proportional to how small the damage looks.
Any cut or fraying: take out of service and have it assessed.
Check 02 — Discolouration
Chemical staining and bleaching
Solvents, fuels, battery acid, cleaning chemicals and some strong detergents attack
synthetic fibres. Staining or an unexplained change in colour can indicate damage that has
already happened at fibre level and is not recoverable by cleaning.
Unexplained staining: treat as chemical damage until proven otherwise.
Check 03 — Texture change
Heat glazing and stiffness
A shiny, hardened or stiff patch suggests heat exposure or friction damage. Webbing should
feel consistently supple along its whole length; a localised change in texture is a change
in the material itself.
Glazed or stiff sections: not serviceable.
Check 04 — Sunlight exposure
UV chalking and fading
Prolonged sunlight degrades synthetic fibres. A chalky surface, powdering when rubbed, or
strong fading on the sun-facing side of the webbing all indicate UV degradation —
common on vehicles that stand outdoors, and on belts left extended.
Chalking or powdering: have the assembly assessed.
Check 05 — Stitching
Sewn loops and end terminations
Inspect every sewn joint: the loops at anchor plates, at the buckle stalk and wherever the
webbing is folded back on itself. Loose, broken or pulled stitching at a termination is a
direct reduction in the strength of that connection.
Any broken stitching at a termination: out of service.
Check 06 — Retractor function
Payout, retraction and locking
The belt should pull out smoothly, retract fully and unaided, and lock positively when
pulled sharply. Sluggish retraction, webbing that does not fully stow, or a lock that
engages inconsistently all indicate a retractor that is no longer behaving as designed.
Inconsistent locking: do not return to service.
Check 07 — Buckle function
Latching and release
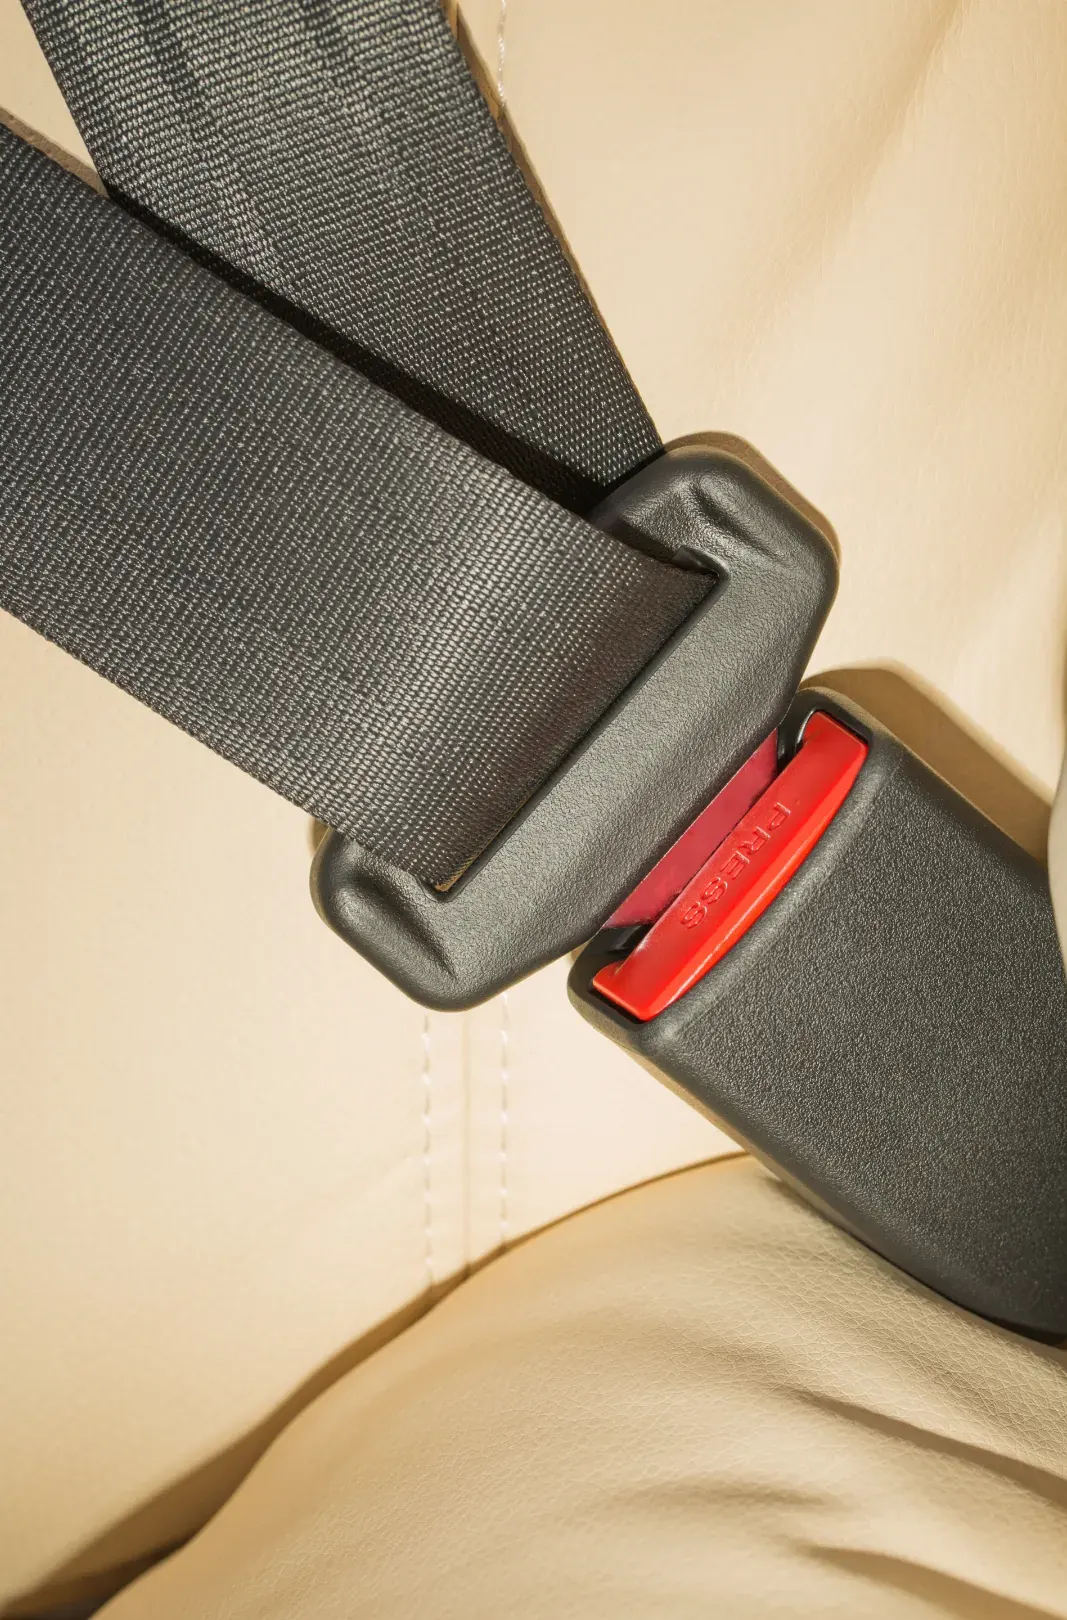
The latch plate should enter positively with an audible, definite engagement, resist a firm
pull, and release cleanly with one press. Grit inside a buckle, a weak release spring or a
worn latch mechanism all present as small annoyances long before they present as failures.
Hesitant latching or sticky release: investigate before further use.
Check 08 — Anchorages
Fittings and surrounding metal
Check anchor plates for distortion, corrosion and elongated holes, and check the metal
around each anchorage for corrosion, cracking or previous repair. Confirm that nothing has
worked loose since it was fitted.
Corrosion or distortion at an anchorage: professional assessment required.
After an impact
A belt that has restrained an occupant in an impact should be treated as no longer
serviceable, regardless of how it looks. Webbing can be stretched beyond its designed
elongation without visible change, pretensioners are single-use by design, and retractor
internals may have been loaded past their intended range. Replacement, not inspection, is the
appropriate response — and the anchorages should be assessed at the same time.
05
Modification
Why belts should not be modified casually
Modifications to restraint systems are attractive because they look simple and they solve
an immediate irritation. Almost all of them change the load path, the geometry, or the
material — and they do so invisibly.
Shortening or lengthening webbing. Cutting and re-sewing webbing changes both the working length and the strength of the termination. A sewn joint is an engineered feature, not a stitching job.
Adding clips, stoppers or comfort devices. Anything that holds webbing away from the occupant introduces slack, and slack is the one thing the whole system is designed to eliminate.
Drilling new anchorage holes. An anchorage is a structural feature. Creating one without competent assessment produces a fixing that looks like an anchorage but has not been shown to carry the load.
Mixing buckles and latch plates. Retention geometry is designed as a pair. That a tongue enters a buckle is not evidence that the pair will hold under load.
Repairing rather than replacing. There is no field repair for degraded webbing, a faulty retractor or a damaged buckle. These are replacement items.
Painting, dyeing or bleaching webbing. Coatings and chemical treatments change fibre behaviour and can mask damage underneath.
When professional assessment is necessary
Involve a suitably qualified professional whenever the question touches anchorage
integrity or structure, whenever a new seating position or anchorage is being created,
whenever pyrotechnic pretensioners are present, after any impact, on any converted or
rebodied vehicle, and whenever an inspection finding is ambiguous. If you are weighing
whether a professional is needed, that uncertainty is itself the answer.
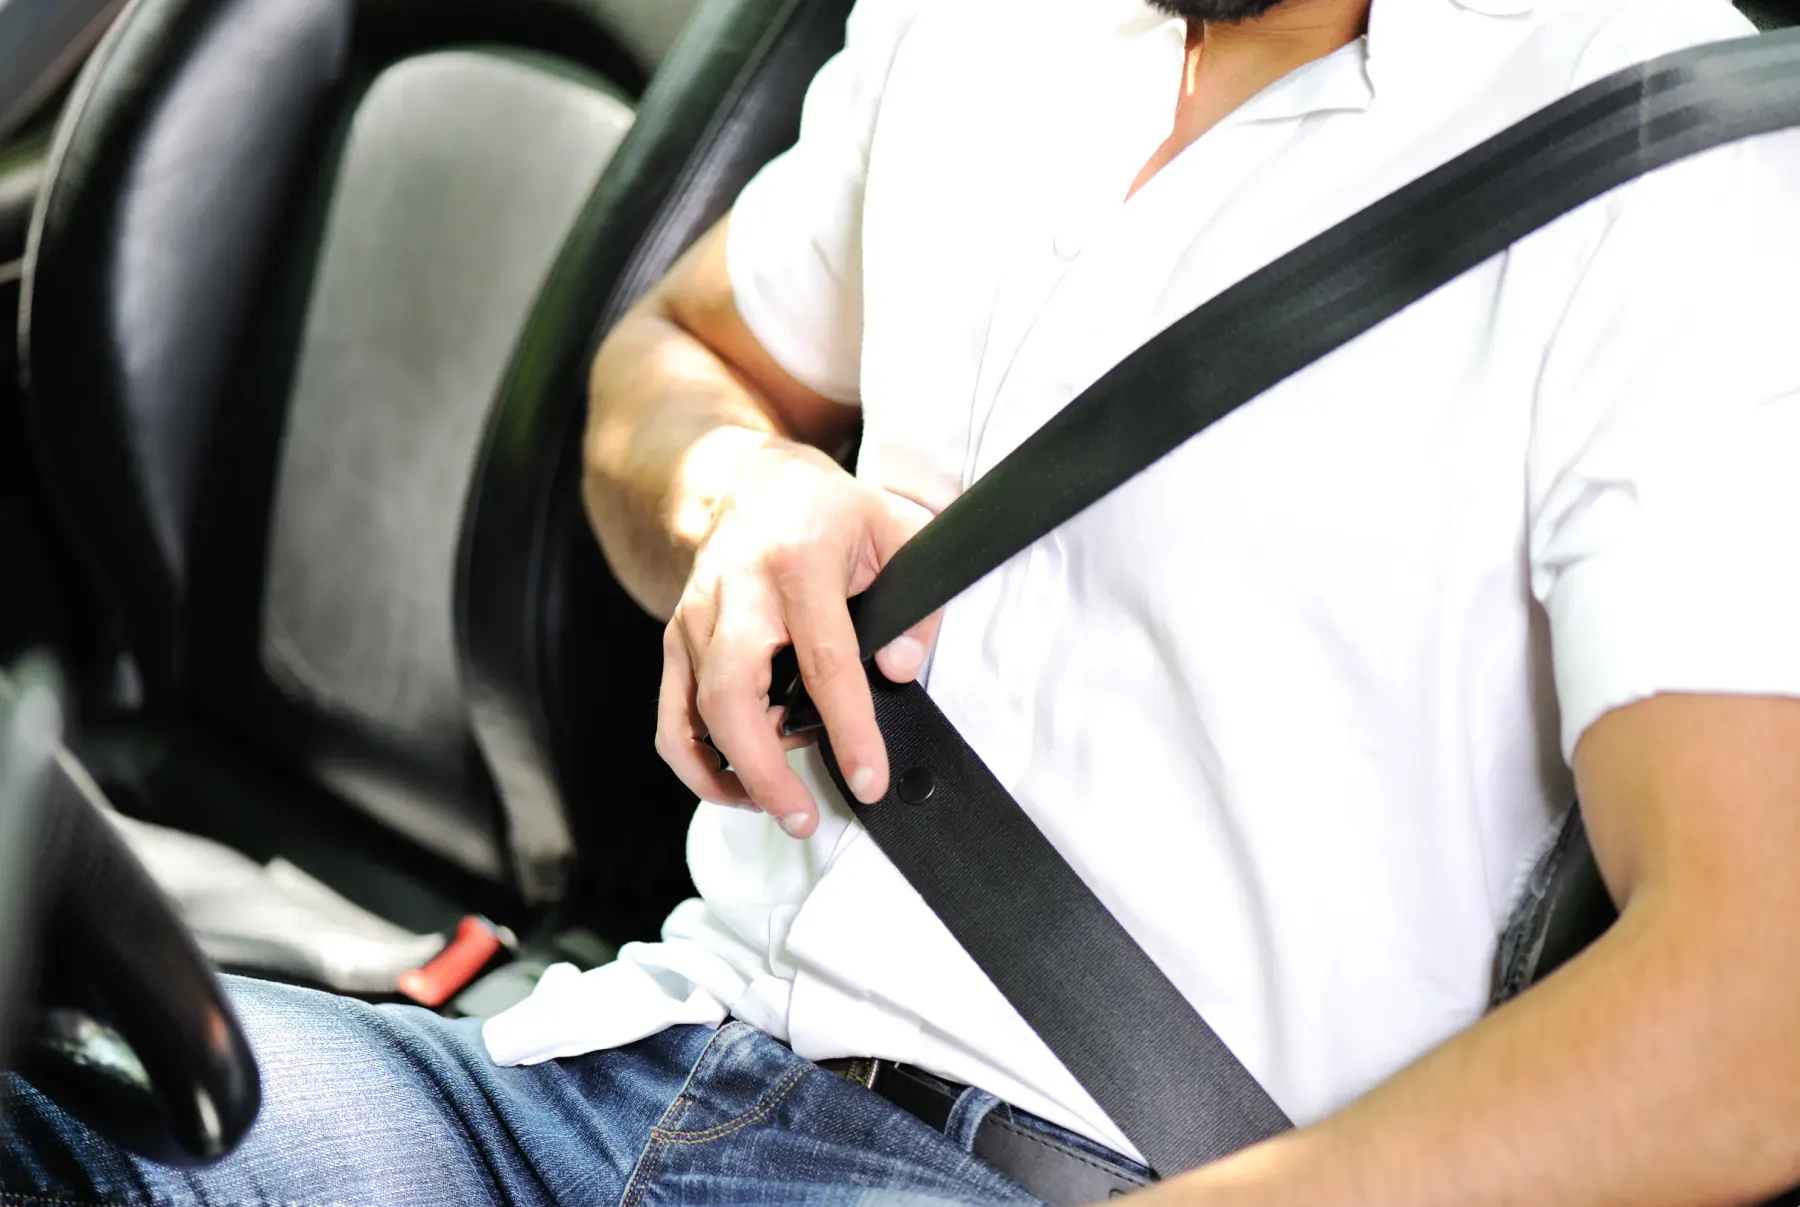
Fig. 02 — Diagonal routing across the chest and shoulderRef / QS-02
06
Scope and limits
Disclaimer
General informational guidance
The information published on seatbeltvendor.in is general informational guidance about seat
belt systems, their components, their selection and their inspection. It is written to help
buyers ask better questions and specify more accurately.
It does not replace applicable vehicle specifications, vehicle or component manufacturer
instructions, statutory or regulatory requirements, or assessment by a suitably qualified
professional. Where any of those differ from the general guidance given here, they take
precedence.
We do not claim certifications, approvals, test results, manufacturing capability or
third-party endorsements on this site. Installation, replacement and any safety-critical
modification of restraint components should be carried out in accordance with the applicable
vehicle requirements and, where necessary, by a suitably qualified professional. Where a
decision affects occupant safety, seek competent professional advice.
Send photographs of the webbing, the buckle and the anchorages and describe what you are
seeing. We will tell you plainly whether it is a sourcing question or a
professional-assessment question.